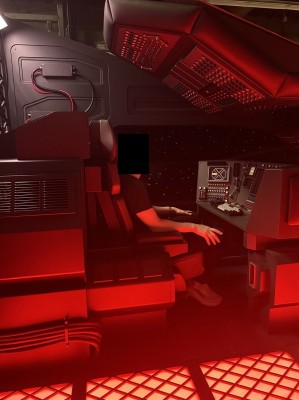
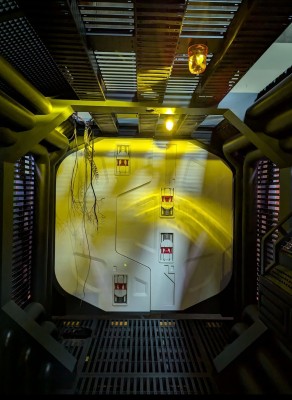
Bridge floor and details in. Since the undergrate lighting is RGB controllable, we're not going to worry about finetuning it until after installation. But here it is doing the kind of lighting that'll be active when the ESD is counting down.
Attachment:
 BridgeLit2.jpg [ 223.15 KiB | Viewed 161303 times ]
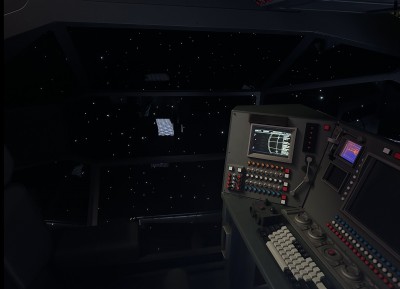
Another shot at the bridge window, but the reflection of the undergrate lighting behind me was more visible than it was in person. But this was the best photo I took of the flight console detail at the time, with what felt like the appropriate videos running on it.
Attachment:
 BridgeSpaceConsole.jpg [ 235.26 KiB | Viewed 161303 times ]
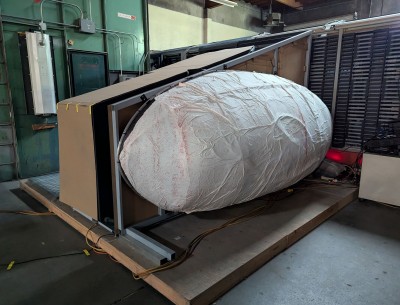
The finished space bowl from the outside, mounted over the bridge's metal window frame, with all the optic fibres under the cover that lead to the individual sparkling lights in the starfield. This will all get jammed into a very tight space in the installation.
Attachment:
 SpaceBowlAssembled.jpg [ 632.98 KiB | Viewed 161303 times ]
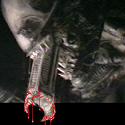
Back in the corridor, the Airlock door was basically done, and ready for weathering. Although after this, when we did start weathering, we tried it on these white doors, and didn't really like it, eventually opting to keep them less weathered than the rest of the corridor. In the ceiling you can see the acid scarred hole, and its matching counterpart down below in the floor.
Attachment:
 AirlockDoorFinished.jpg [ 326.26 KiB | Viewed 161303 times ]
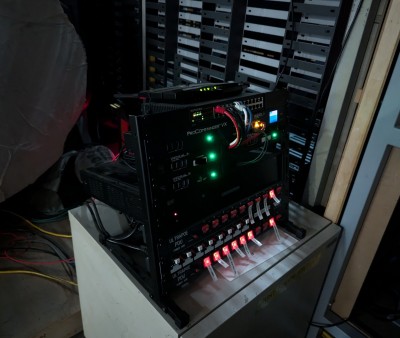
The show controller that's the brains behind all the interactive elements.
Attachment:
 Controller.jpg [ 293.03 KiB | Viewed 161303 times ]