When I first suggested the idea of making the Pulse Rifle, a good friend of mine expressed his concern that once I was done with the Pulse Rifle, I'd just want something else. However, I was convinced of two things: 1) The Pulse Rifle's iconic design and it's ties to my childhood would never allow me to think of wielding another weapon for laser tag or Airsoft. 2) That the Pulse Rifle would be at the center of a long line of upgrades and changes as it serves as my main weapon.
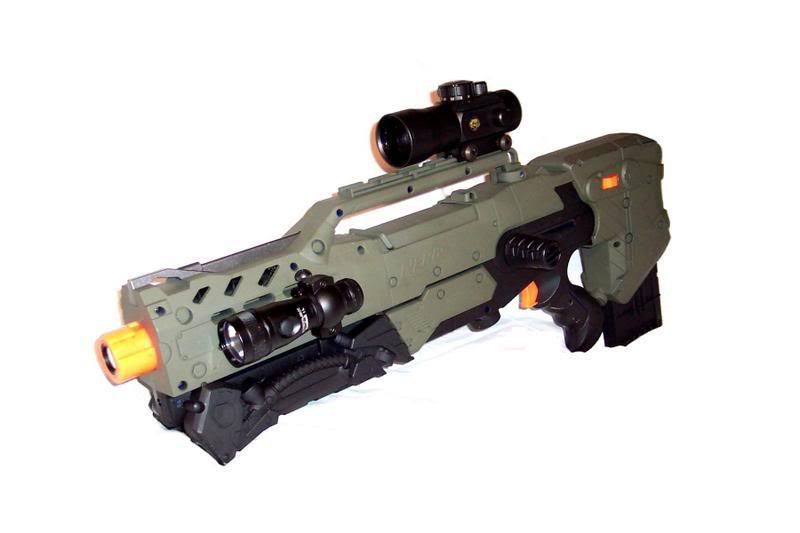
Well, I finally "completed" the
M41A Pulse Rifle Laser Tag/Airsoft Build but this is only the beginning. While I was working on the Pulse Rifle and as I have been using it in combat and talking with others and gathering ideas, I have been compliling a list of upgrades and design changes that will extend my work on the Pulse Rifle until the day I'm dead. You see, the reason why I've built so many other
laser tag weapons is that being active with projects keeps me engaged. I do love the Pulse Rifle's design and never wish to wield anything less. However, there are several Ideas I want to implement in order to improve it and keep me at the top of my game. To help keep tabs on all these ideas, I'll be posting those here and getting help from you and other sources to see how possible these things are.
First on my list was to continue to improve the targetting of the Pulse Rifle. While the Iron Sights that I installed earlier are good and all and retained my previous goal of trying to keep the Pulse Rifle looking as stock as possible, they are still problematic. I mounted the Adjustable one too close to where my eye sits, so it is often blurry as I focus on them. Additionally, the Ironsights are still a bit of a pain to use and, while they do help, there's more I can do. Then after browsing
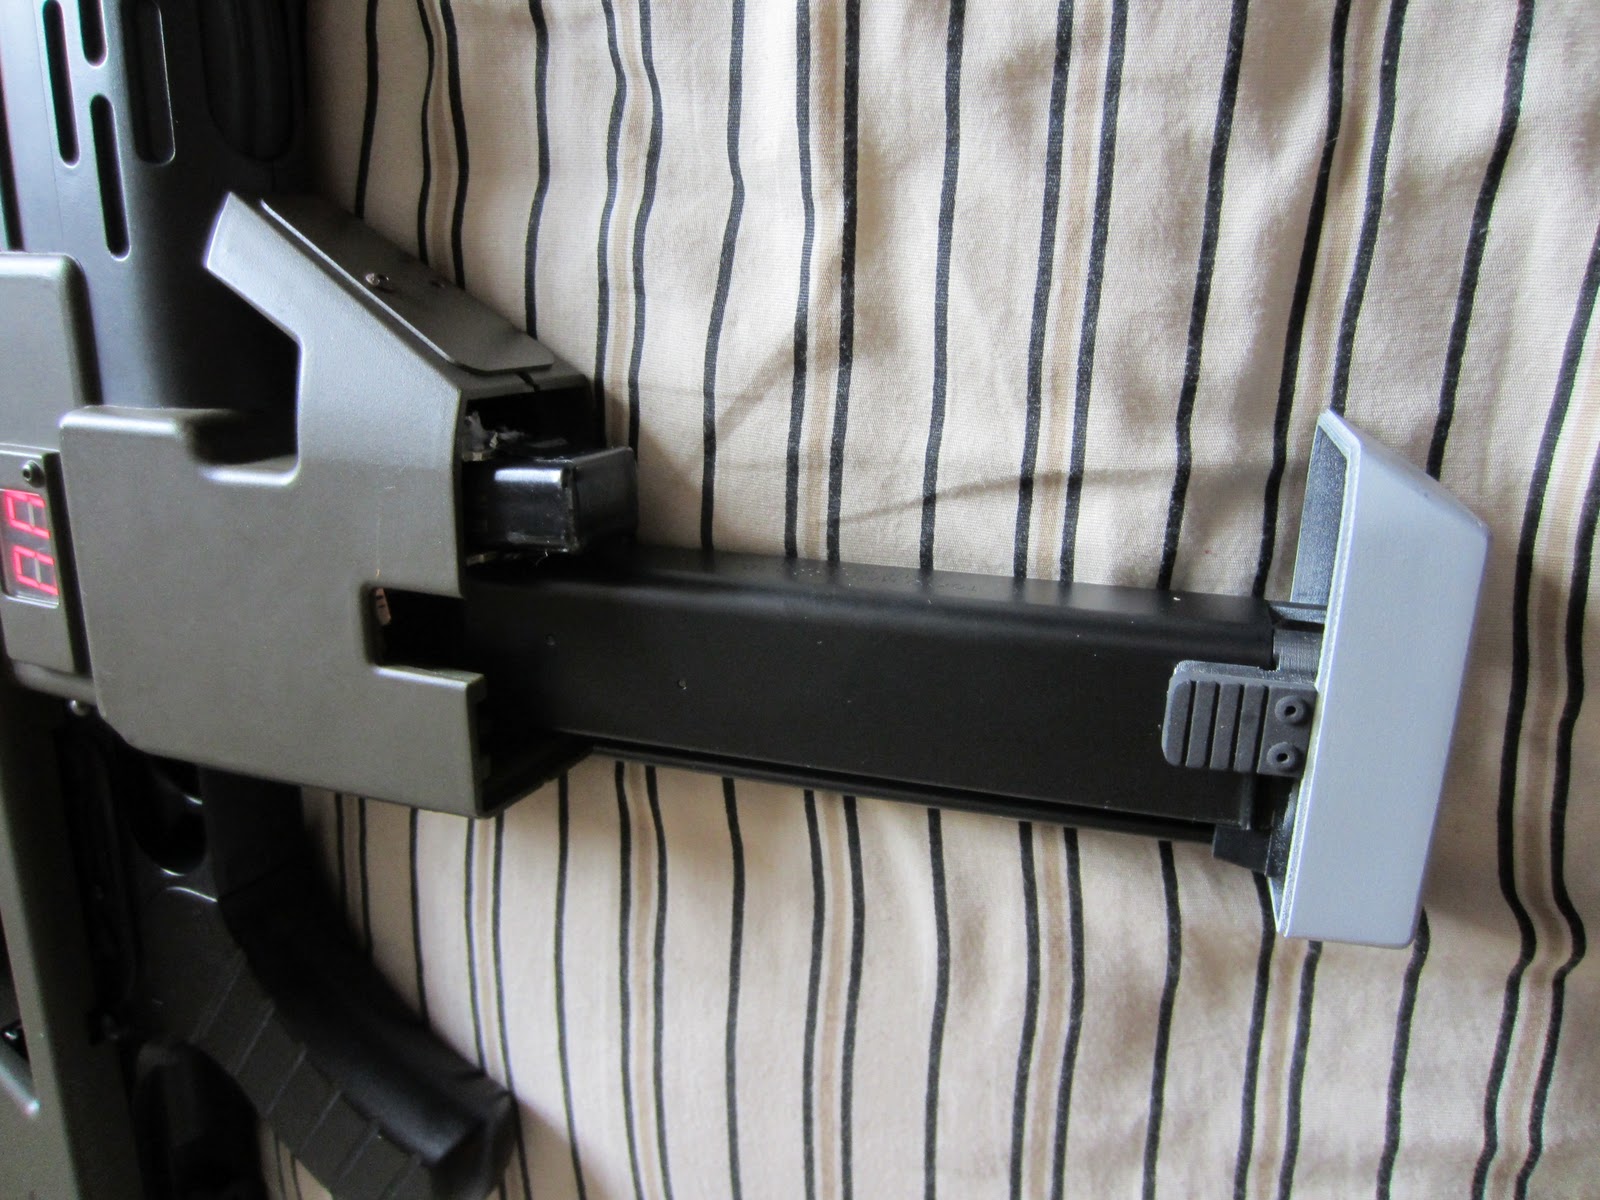
ColonialMarines.net I came across images and links and buildups for several different types of modifications for the Pulse Rifle. That search ultimately led me here. I was able to talk with Sgt Baldwin a bit and get an idea of how he build his weaver rail mounts on his Pulse Rifle and used that as the basis for building my own. I completed the first weaver rail mount last night. It is designed to mount my Aimpoint Micro Red/Green dot sight and, I must say, I am quite happy about the results!
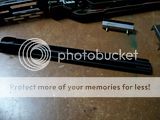
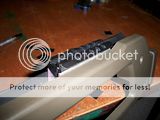
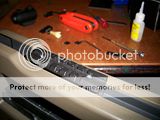
1) Removed the Fiber Optic Iron Sights I had installed earlier and patched up the holes where they were with black Styrene plastic. I was originally going to try to seal up the holes and imperfections, but instead, I just decided to cover them. I'm not worried about it being "canon" at this point.

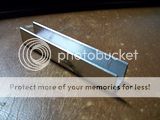
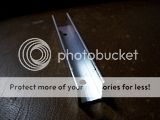
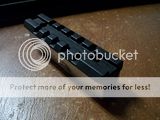
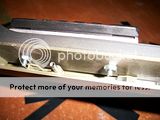
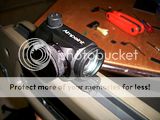
2) I cut a piece of alluminum to the exact length of the weaver rail I wanted to mount on it, then drilled holes in the bottom for mounting it to the PR. The screws that go through the weaver rail go down deep enough to make it through the bottom of the alluminum piece and into the top of the PR shroud.
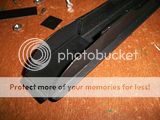
3) Mounted the rail to the PR and tightened the bolts on the bottom for a snug fit. Lookin slick!
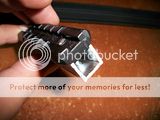
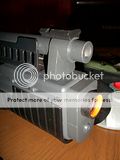
4) Test fitted the Sight, painted the piece black, and closed it up.
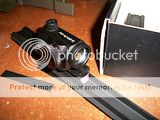
I'm quite happy with the results. Some scope zeroing will take place today just in time for a laser tag game planned for this evening. As far as I'm concerned, the scope mount and top weaver rail are done!

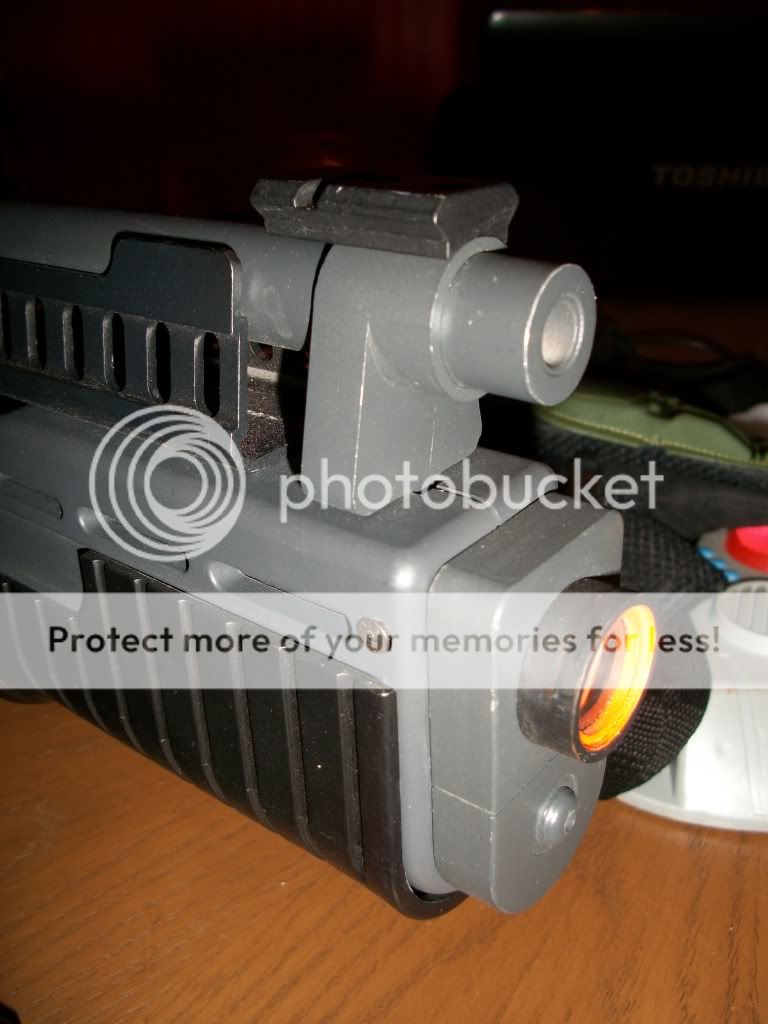
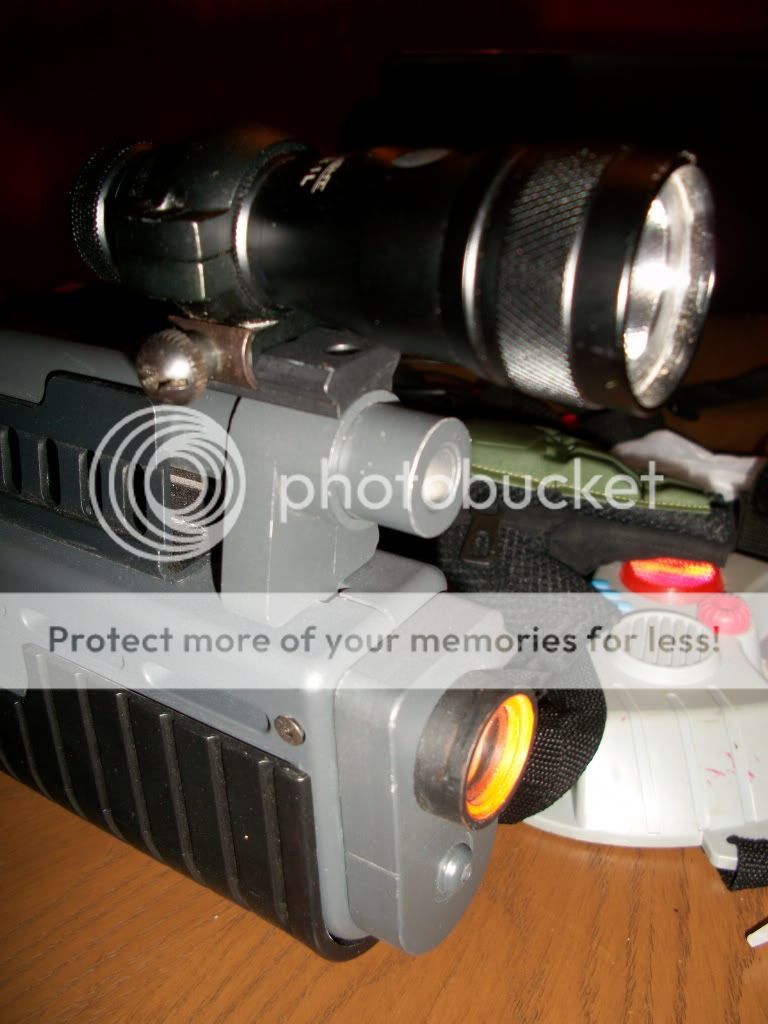
Next on my list is mounting a tactical light to it. Traditionally, I have mounted these with a
weaver rail and a
flashlight in a scope ring. I have been brainstorming mounting ideas for the weaver rail, but am unsure of where I want it. I have seen Sgt Baldwin's weaver rail mounts on the sides of the vents over the top barrel, but I thought up a different location as well.
Your comments, questions, and suggestions are all welcome!
_________________

A01/TQ0.0.32154E1 MSgt Lovejoy, MA 'Reverend' Nebraska-USA


